| Advanced - Photo Manipulation |
10 Minutes
|
Haze...or Blow Out
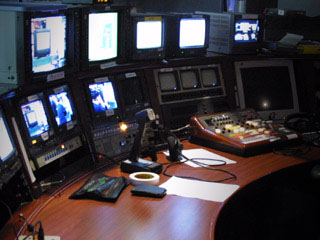 |
Here is the control room of the facility where I direct the Computer Chronicles. This was taken with a Canon D-30 digital still camera. It was taken with available light after being white balanced on the piece of paper that you see in the foreground. Actually I think that is my production schedule for the day. |
 |
What you are seeing here is a combination of two separate effects that I learned over the course of a couple of years. Neither is all that special but the combination is kind of cool. |
Haze
First is a detailed explanation of a glow effect that is briefly mentioned in Trish and Chris Meyers book. Then we will modify it with the LEVELS control panel.
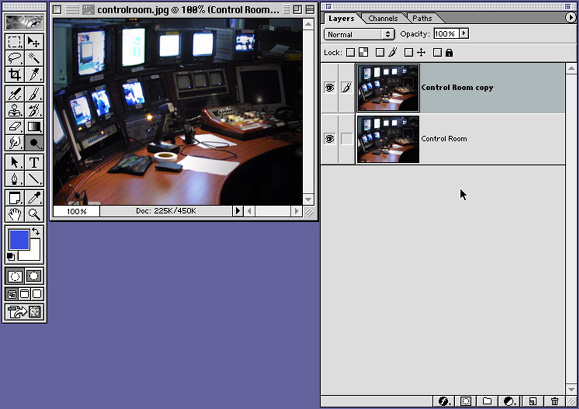
Open up an image that you want to apply the haze to and make a second copy of the layer.
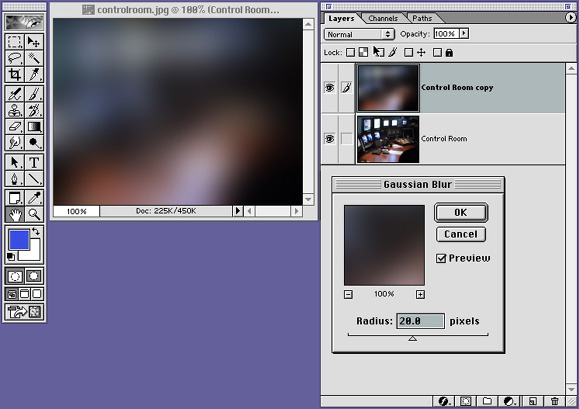
Apply a Gausian Blur to the top layer. (FILTER>BLUR>GAUSIAN BLUR)
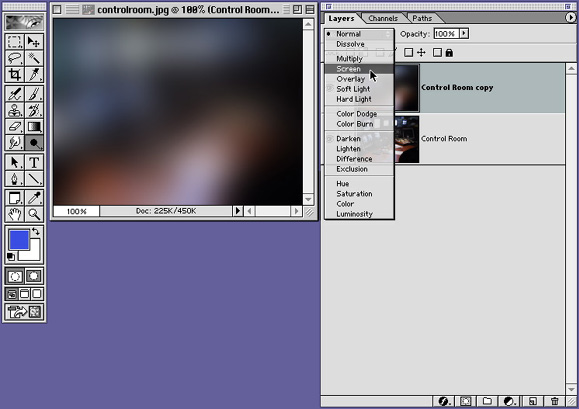
With the top layer selected go to the TRANSFER MODE pop up and select SCREEN. Basically, I was using Photoshop for years before I even played with these choices. And although I still usually have NORMAL selected, there are some cool things that you can do with the other settings.
Levels
A few years ago a friend of mine who was in the advertising industry told me he wanted to learn a few things about "digital video". I invited him to my office and showed him around and we ended up huddled around a computer screen playing with Photoshop. Before to long he was HOOKED. After a very short time he invited me over to his house to help him configure his new Blue and White G3 and Final Cut Pro. When I walked into his den I couldn't help but notice digital photo printouts draped over the back of sofas, on top of stacks of books and filing cabinets sitting on chairs, EVERYWHERE.
Steve had gone WILD with his new Kodak digital camera and had taken hundreds of images and gone crazy with Photoshop and composited them with shadows and text and little clipart thingys. Not that I was too crazy about all of his compositions but I got to tell you the images were awesome. They POPPED! I was blown away.
Now, back then I did not have a digital camera so I attributed the image quality to the Kodak camera. I was wrong.
The "pop" of the image came from Steve playing around with LEVELS. I asked him, "Where did you learn that?" He said that he was just playing around and found it. Erg... was I humbled, I didn't even know about LEVELS and here was Steve, the avid hobbyist, showing me tricks. It seemed like it was just yesterday when I had been showing Steve how to put a drop shadow on something.
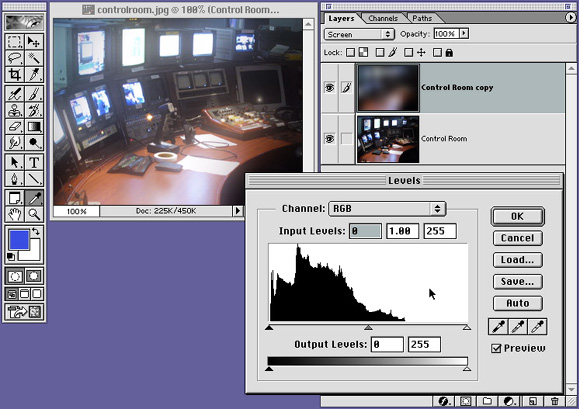
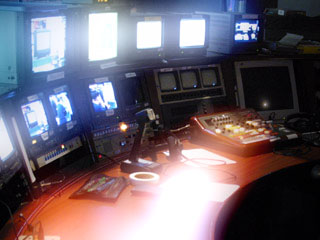
Here you can see the image starting to take on a Fog kind of look, but what you REALLY want to do now is Select the LEVELs controls. (IMAGE>ADJUST>LEVELS)
Look at the default position of the three tiny triangles. What this Histograph is showing you is Dark areas to the left and Light areas to the Right. Basically at a glance you can tell that this is a pretty dark image. From this Histogram we can see that there is nothing that is full white in the image. What is deceptive is that you are looking at the Composite of the two Layers being blended together with the TRANSFER MODE set at SCREEN. The Histogram however, is looking at the top layer.
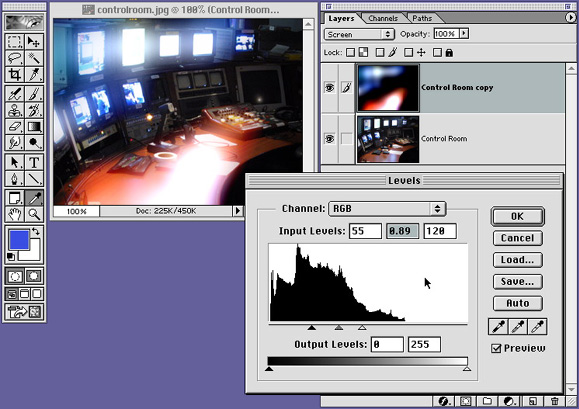
If you begin to futz around with the three tiny triangles you will be able to pump up the bright areas and darken up the black areas. Basically what you are doing is telling more of the light areas of the image to be interpreted as White and more of the almost dark areas to be interpreted as Black.
The middle triangle is really cool. You probably have heard the term GAMMA. Gamma is an adjustment of the mid tones of an image. When you crank about on this middle triangle you will see some really dramatic changes in the image.
So the lesson here is to go ahead and try some things that you don't usually have the time to play with. You never know what you might find.
Enjoy.
PS, It dawned on me after reviewing this page that the original technique of the two copies and the bluring and the SCREEN transfer mode was recieved from Trish Meyer via eMail. She was kind enough to steer me in the right direction so I could stumble around in at least in the right neighborhood. Thanks Trish. If you don't have her and Chris' Book Creating Motion Graphics, you should, it's awesome.
PAYBACK TIME. If you read this and found any part of it informative, Please eMail me below and let me know. If I find that people use this, maybe I'll write another.
© 2001 Chris Fenwick

|
|
